Adding a New Workflow
Now that Tripal is aware of a Remote Galaxy server we can integrate workflows with the site. To do this, navigate to the Tripal Galaxy administration page at Administration > Tripal > Extensions > Galaxy and click the Workflows tab.
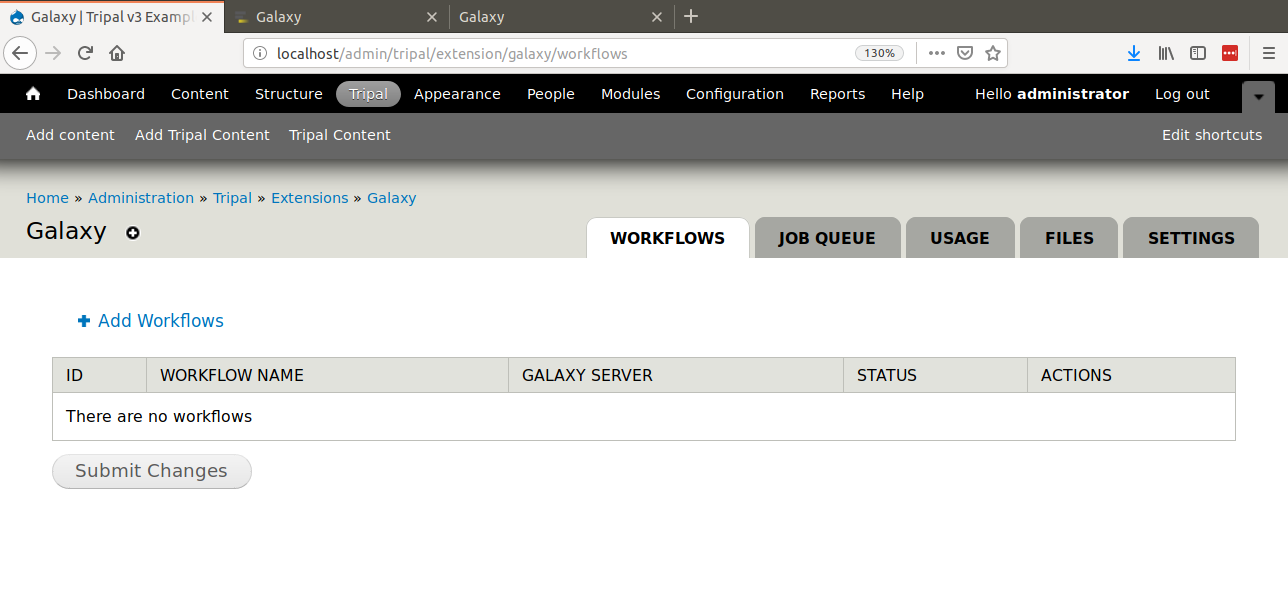
Currently, there are no workflows available. A workflow can be added by clicking the Add workflows link. A page appears with a single select box containing a list of Galaxy servers that Tripal knows about.
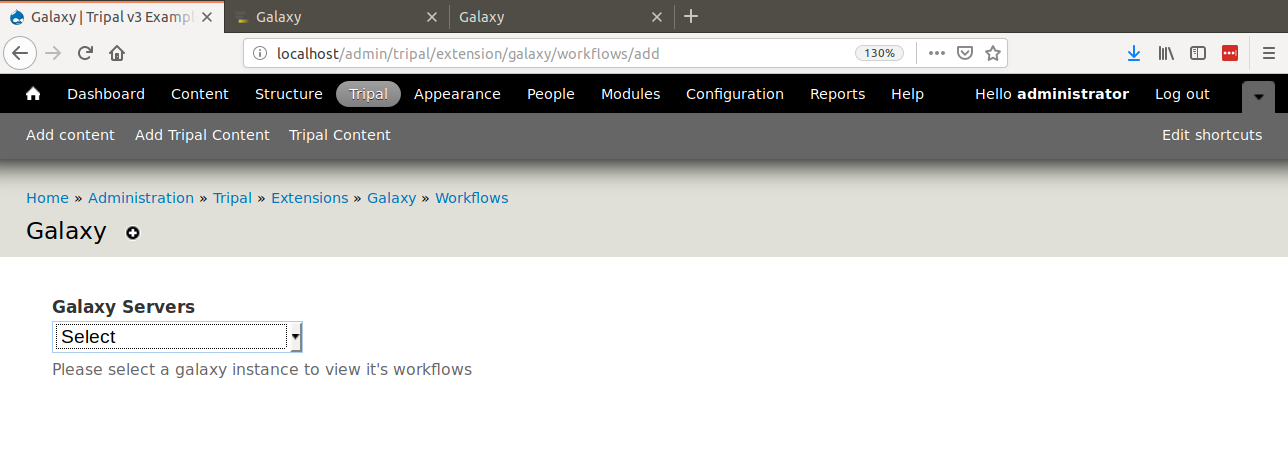
Select a Galaxy server and a list of workflows appears. In the previous Adding a Remote Galaxy Server section we added the UseGalaxy public server. However, for the remainder of this tutorial we will use a local Galaxy server which has several pre-installed workflows from the Staton Lab Galaxy Workflows library.
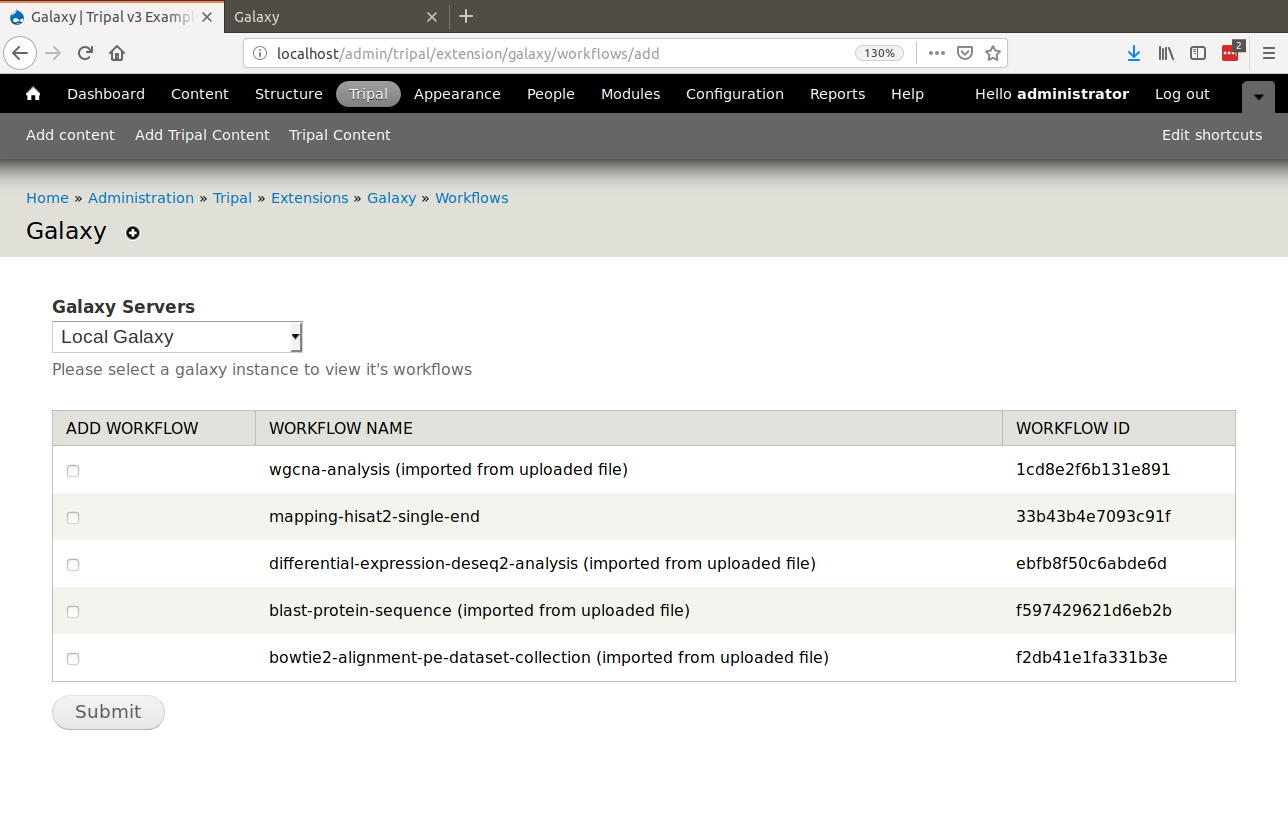
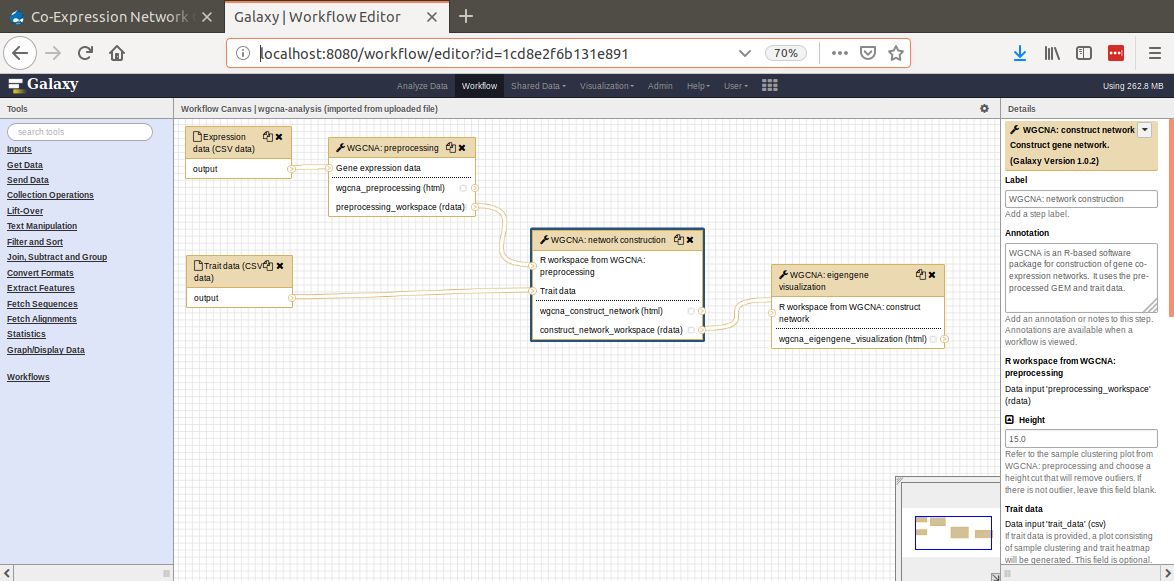
Here we can select any number of workflows to enable on our Tripal site by checking the select box to the left of each workflow and clicking the Submit button. The Tripal Galaxy module will connect to the remote Galaxy server, retrieve information about the workflow and automatically create a web form for users to submit. For this example we will enable the workflow named wgcna-analysis (imported from uploaded file) which performs gene co-expression network (GCN) construction.
Below is an image of the WGCNA workflow on the Galaxy server:
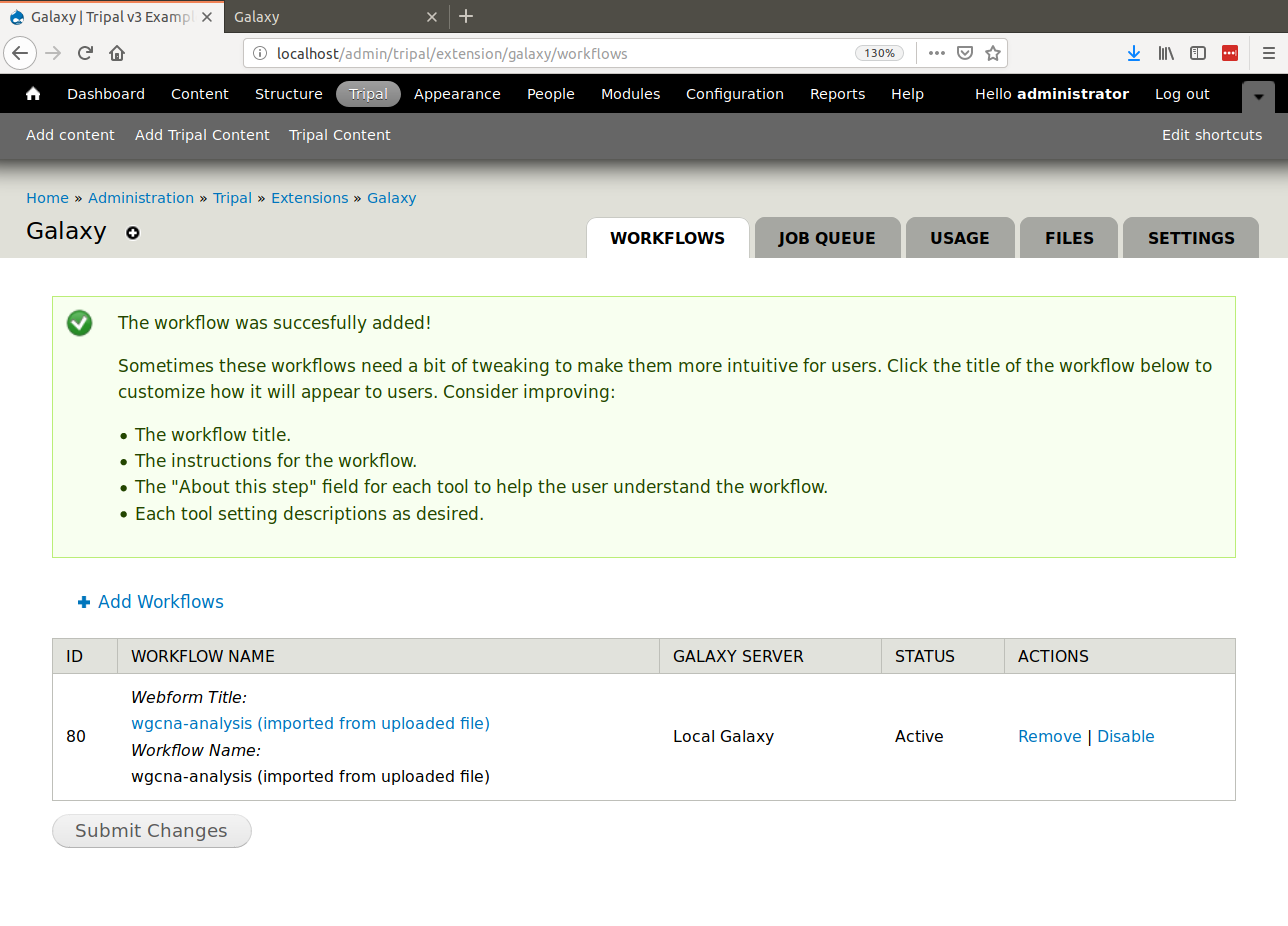
After the workflow has been added to Tripal a message is provided indicating that we may want to adjust the title, instructions and other information about the workflow. We may want to do this to help improve the user experience for a user who wants to run a workflow and needs details or instructions specific to your site. To do this, click the link to the workflow in the Workflow Name column. The following page appears:
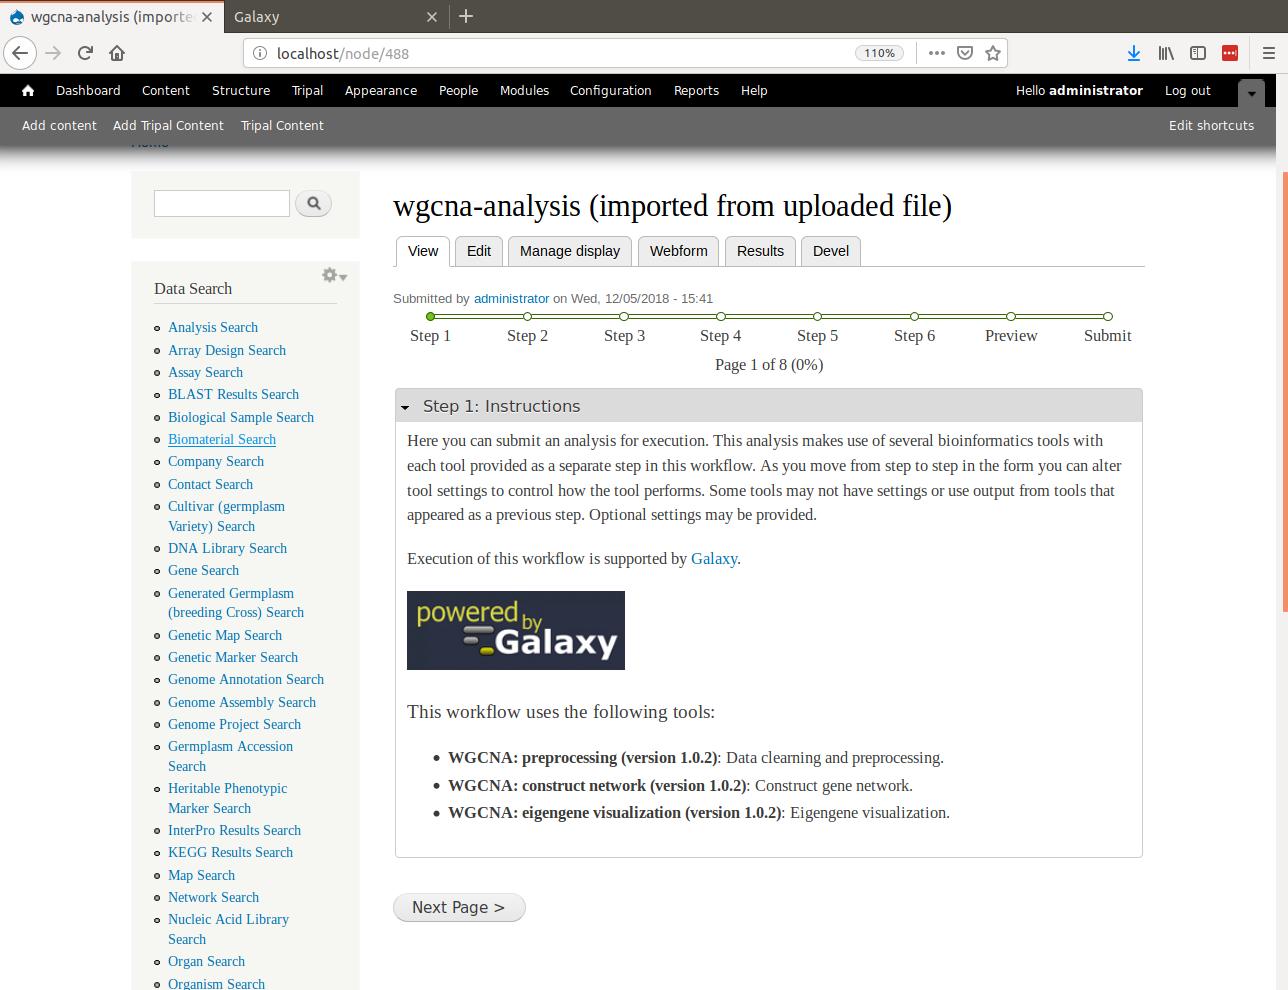
Tripal Galaxy will provide a set of default introductory instructions which are shown on the page. The title of the workflow is also not very user friendly. We can first change the title by clicking on the Edit tab. Here you can change the title to something such as “Co-Expression Network Construction (WGCNA)”
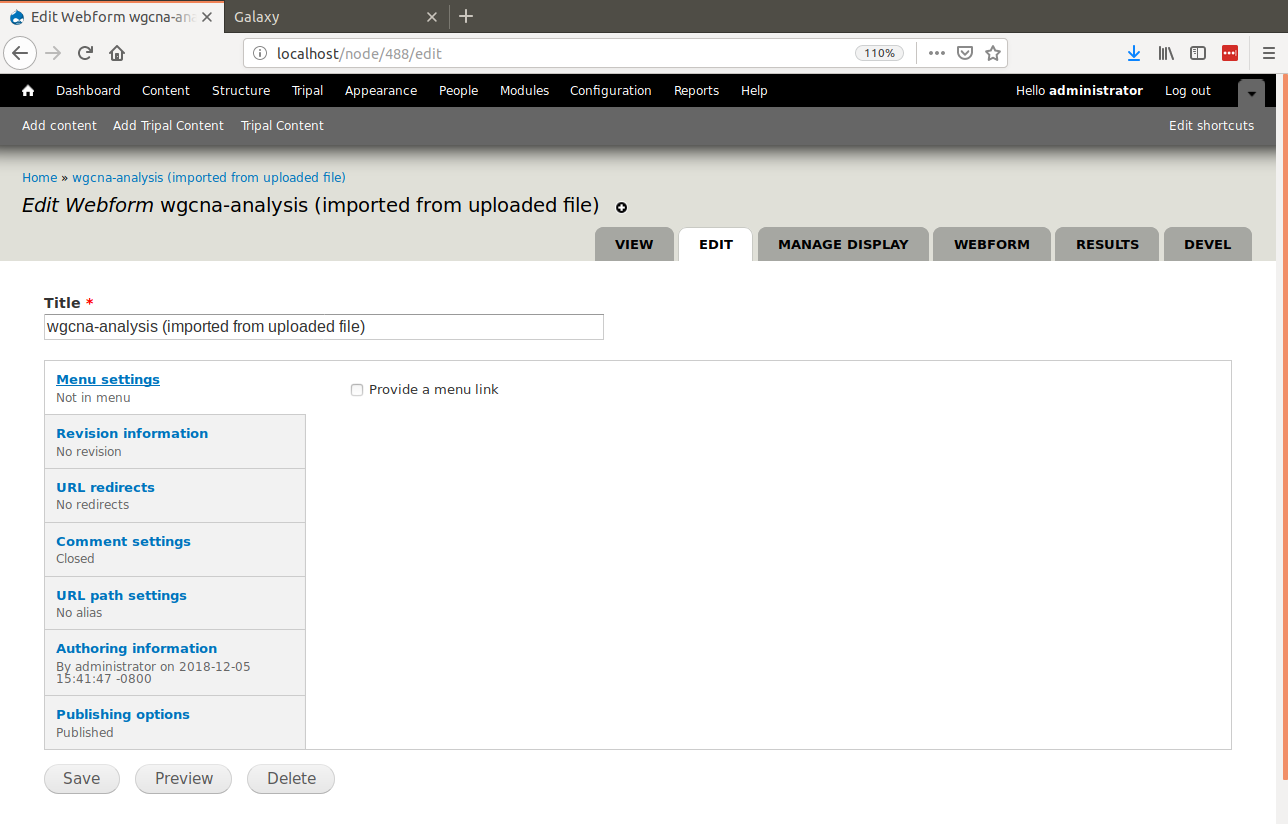
Click the Save button.
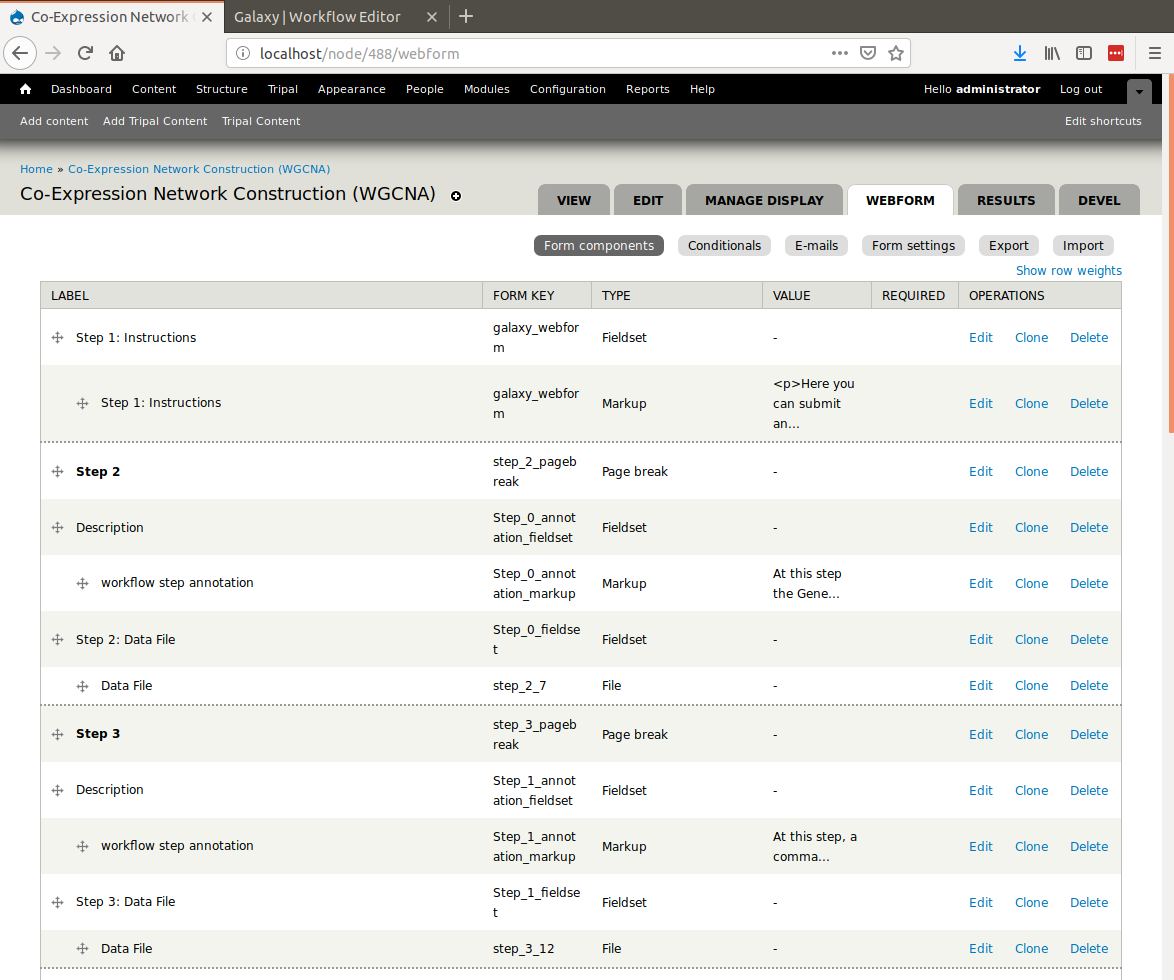
Next, to update the instructions, click the Webform tab. Here you will see a list of every field in every step of the workflow.
Warning
Be cautious editing any of the fields on the Webform tab as they are needed for the workflow. It is safe to edit any field of type Markup or, to change the Label and Description. Do not change the Form Key or any other default values.
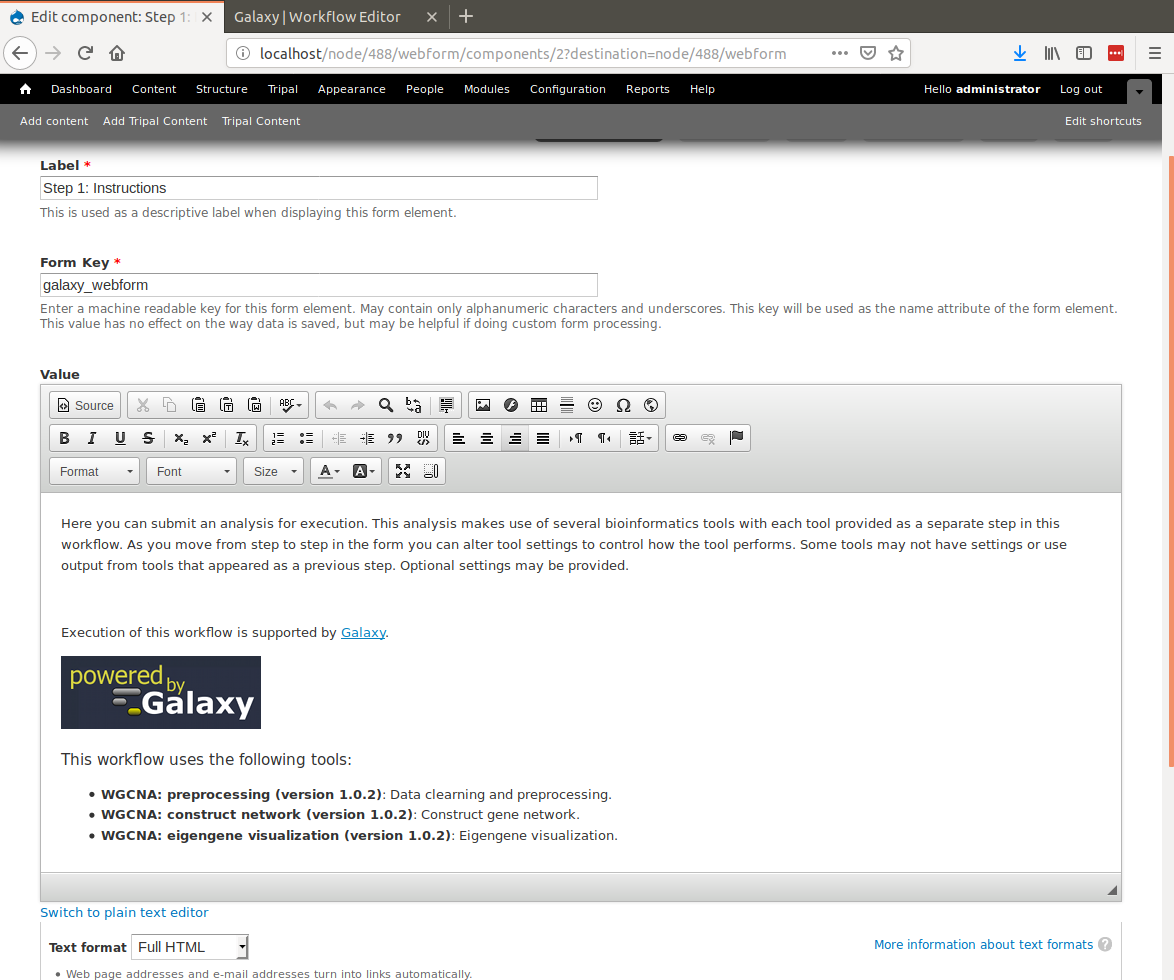
To change the instructions, click the Edit link for the column with the Label Step : Instructions of type Markup (the field on the second row). The following page appears:
Note
If the value field on the form shows pure HTML you may want to install a WYSIWYG editor such asckeditorusing a command such as:
drush pm-enable ckeditor
Edit the instructions to your liking and click the Save component button at the bottom of the page. Click the View tab to see how things have changed:
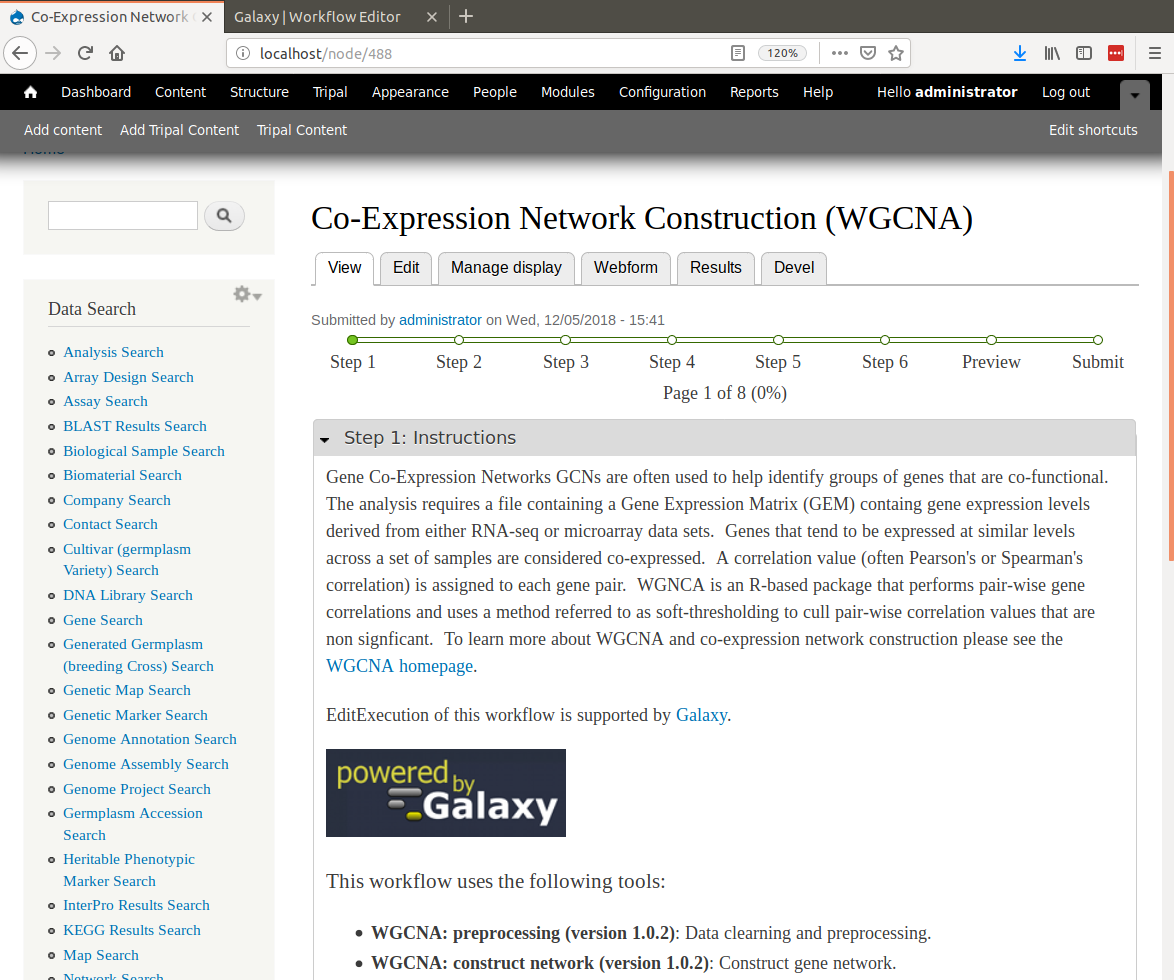
You can now browse through the workflow, to ensure that the end-user experience matches your expectations. Click the Next Page button to see the next step in the workflow.
If you see a description or help text that does not meet your liking you may change it by clicking the Webform tab, finding the correct component and editing appropriately. Remember to only change labels, descriptions and help text. Do not change the form keys or default values or conditionals.
Once you have completed any edits to the workflow you can make it available for end-users by adding the URL for the workflow to your sites Menu as needed. Notice in the previous screenshot that our workflow can be found on our site at the relative URL node/488. Navigate to the Administer > Structure > Menus and add the workflow to the most appropriate menu for your site.
Note
We do not show here how to create menus as that is covered by the Tripal v3 User’s Guide and Tripal documentation.